This tutorial explains how you can do a simple erase in LibreOffice draw.
Before you read on, understand that LibreOffice Draw is not a painting program, and its features are limited if you think of doing complex image editing.
However, having said that, Draw provides you with features which you can use to manipulate images, including erasing a part of an image file, erasing shapes, etc.
We have created a video tutorial on how to erase LibreOffice Draw to make it easy.
However, if you want to follow text instructions, then follow our step-by-step tutorial below.
Table of Contents
How to Erase LibreOffice Draw
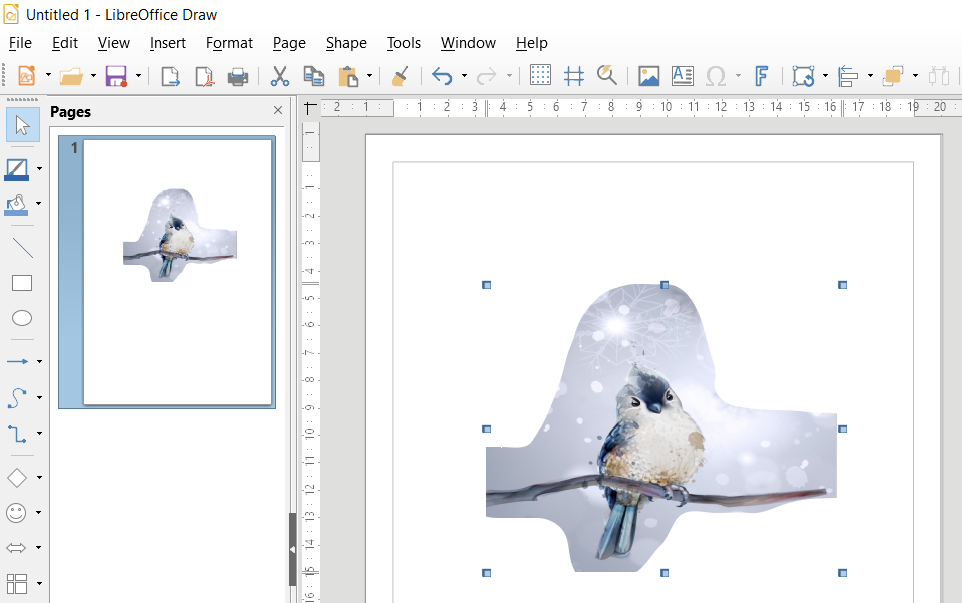
- Open LibreOffice Draw and insert any image.
- You can erase using pre-defined shapes and as well as using free-form drawings as well. Let’s draw a free-form line along with the image to make it more robust.

- Select all the shapes and images. Then from the Shape menu, select
Shape -> Intersect.
- Intersect would cut through (or erase) the drawn line in your inserted image.
You can also do the same using shapes as well. Multiple operations are available, such as Intersect, Subtract, and Merge, and you can combine them to draw better images by erasing part of it.
References
Combining and working with objects
