


Here’s how you can perform zoom in and zoom out in LibreOffice Calc sheet.
When you are working with a large set of data in a LibreOffice Calc sheet, you often need to zoom in or zoom out to fit the data in the available display resolution. Calc provides easiest way to provide these two features.
Zoom Options
- In the Calc workspace, at the bottom right section, the zoom controls are present. See Figure 1.
- By default, the zoom is set to 100%. Right-click on the zoom number (100%), and you can see quick zoom options. You can also access this via View > Zoom from the menu. See Figure 2.
- A single left click on the zoom% label brings up the below dialog with more exhaustive options for Zoom. You can select your desired options to complete your tasks. See Figure 3.
- If you are using the Tabbed bar (ribbon), you can get these options in the View tab as shown below. See Figure 4.


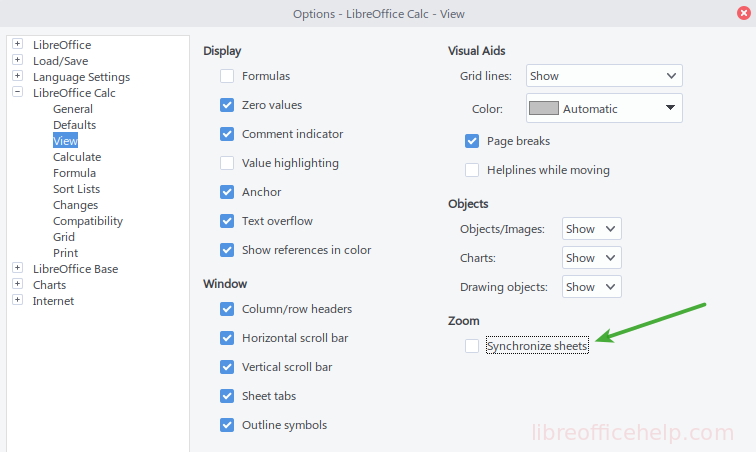
Different Zoom in Sheets / Synchronize Zoom
- It is possible to have different Zoom levels in different sheets of Calc.
- By default, zoom levels are synchronized, i.e. if you zoom to, say, 150% on Sheet1, the same zoom is to be applied to Sheet2 and so on.
- If you want to have different zoom levels, i.e. while zooming Sheet1, the other sheet’s zoom level remains the same, then follow the below steps:
- Go to the menu. Tools > Options for Windows and Linux. For macOS, open LibreOffice > Preferences.
- On the left side, click LibreOffice Calc > View. Then, uncheck the option Synchronize Sheets under Zoom.
- Press OK.
- Now, you can have different zoom levels on different sheets. To revert back, open the above dialog again and check the option.
Drop a comment below if you have any questions or are having trouble zooming in and out in LibreOffice Calc.